How do you do show slides when the audience is too large to peer at your laptop, and there’s no TV or audio-visual equipment in the room – not even a blank wall to project slides onto? Here’s what I improvised for the “Hamilton: Man and Musical” talk I gave a few weeks ago in a rehearsal studio in midtown Manhattan.
The rehearsal studio had one long mirrored wall, two short walls with brown foam soundproofing, and a long wall of four or five huge windows – fortunately with heavy drapes.
I knew I’d have to buy equipment, but it had to be inexpensive, small and lightweight, and preferably something I could use for other purposes than giving talks with slides. Here’s the kit I carried to the venue. Details below.
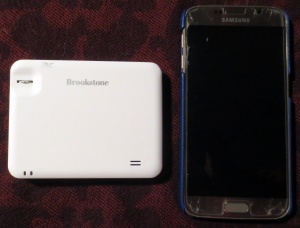
- Brookstone Pocket Projector Micro
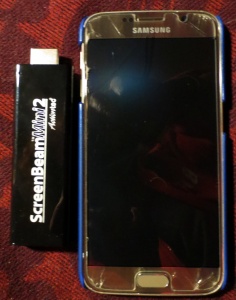
- ActionTec ScreenBeam Mini2
- Samsung Galaxy S6 Android phone
- Extension cord / surge protector
- Three chargers (mini-USB)
- Tripod
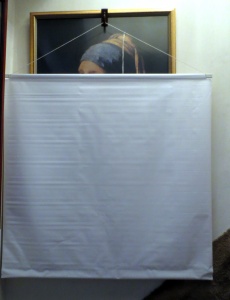
- DIY screen with a loop for hanging
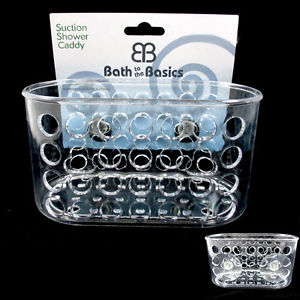
- Suction cups for hanging screen on a mirrored wall (or an over-the-door hook, if a door is handy)
The tech
1. Brookstone Pocket Projector Micro, list price $149.99. It projects an image with up to a 50-inch diagonal. Needs to be plugged in while it’s running, so a mini-USB charger for it is in the kit. Another use for this projector: plug it into your laptop via the included HDMI cable, and the image from your 15-inch screen will be 50-inch. I didn’t want to lug my laptop around, though, so I bought the next item on the list.
2. ActionTec ScreenBeam Mini2. This is the bridge from the projector to the phone: it plugs into the HDMI port on the projector. It uses some weird local means of communication, so I didn’t have to worry about whether the studio had wi-fi or phone reception. The ActionTec won’t run unless it’s plugged in, so that adds a second mini-USB charger to the kit. Another use for this gizmo: plug it into an HDMI port on the back of your TV, and you can make anything that’s running on your phone – the Guides Who Know Monuments of Manhattan app, for example – magically appear on your TV screen. The video will run a bit less smoothly than if you plugged your laptop into the TV via a cable, but still, it works.
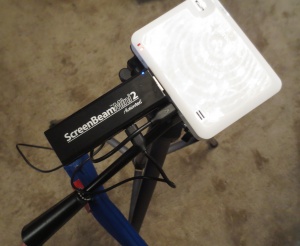
3. Tripod: this Acuvar model holds a camera or a smartphone; the Brookstone projector uses the camera mount. The original GorillaPod will hold the projector and latch onto the back of a chair, but that limits how high you can have the projector – and if the chairs in your venue are slippery metal, the GorillaPod holding all that tech will wobble. A real tripod is more secure and more versatile, and as it happened, I already owned one.
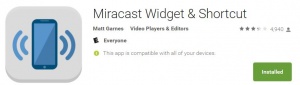
4. Miracast app (free in the Google Play store), which allows the ActionTec and projector to mirror what’s on my phone. It’s a bit quirky – sometimes takes one or two tries to connect – but so far, it has always come through in the end.
5. Android phone. I know the Brookstone projector and ActionTec set-up works with my Samsung Galaxy S6; your mileage may vary. Since the projector shows what’s on screen, the phone has to be on all the time, so a third charger gets added to the kit.
Making it work
- Plug the ActionTec into the projector’s HDMI port.
- Plug chargers into the projector and the ActionTec, and then into the surge protector.
- Turn on the projector.
- Plug the phone into the charger and the surge protector. Set it never to go to sleep.
- Open Miracast on the phone. Wait for it to connect to the ActionTec. The spinning “I’m-so-very-busy” circle may keep appearing, but if the grayish-blue circle appears at the upper right of the screen, you should be good to go. NOTE: If you touch that blue circle after the connection is made, the connection may be cut. When you want to close the connection, hold and drag the blue circle to the “x” that appears near the top of the screen.
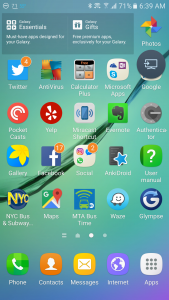
When I gave my talk, I had my phone on a music stand in front of me, so that I could swipe it to change the slides. The tripod with the projector and ActionTec sat 8-10 feet away. Since the lights were all out, I also had my husband’s phone, plugged into the wall, so I could use its flashlight app to read my notes.
This is my personal best for amount of tech running at once.
The screen
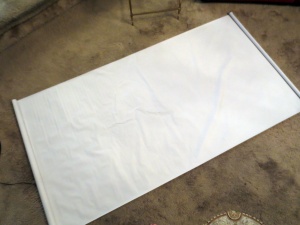
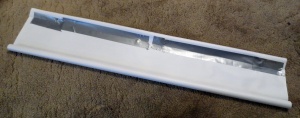
I saw instructions online for making a screen out of Tyvek, but my local Home Depot didn’t have any. This DIY screen works at least as well – perhaps better, since its thickness makes it less likely to shift about in air currents.
To make it, you need:
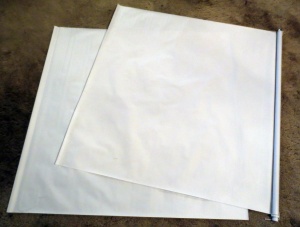
- Home Depot Roller Shade (interior), light-filtering white. I used half of a 37” w x 72” H shade ($9.97), so my screen is more or less square, at 37 x 36 inches. Since the projector shows a theater-size image (16:9), however, much of the screen is wasted. At some point I’ll remake my screen using a 60″ wide shade. Whatever brand or roller shade you use, be sure it’s not shiny – the projector would probably cause glare.
- A tension rod that will expand to about an inch wider than the width of the shade.
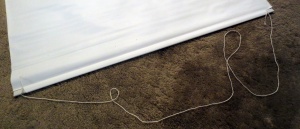
- String, about 1.5 times the width of the shade.
- Duct tape.
- Optional: mailing tube 1-2″ or so longer than the width of the finished screen, to carry it in.
Here are the steps.
Slideshow
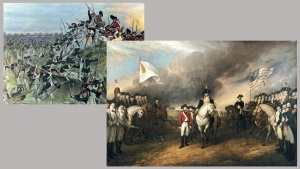
I created slides in Photoshop Elements using 16:9 proportions (to fit the Brookstone projector), always against an unobtrusive soft gray background. I saved each as a JPG, numbered sequentially.
Alas, my phone’s File Manager refused to put the numbered slides in the right order. So I used the New / Google Slides option in Google Drive, pasted the images into the most stripped-down template, and then chose the Work Offline option. I emailed the Slideshow PDF to myself, saved it to my phone, and opened it while I still had phone service and wi-fi, just to make sure it was there.
Worked like a charm!
More
- Comments or questions? Email me: DuranteDianne@gmail.com.
- Want wonderful art delivered weekly to your inbox? Check out my free Sunday Recommendations list and rewards for recurring support: details here.